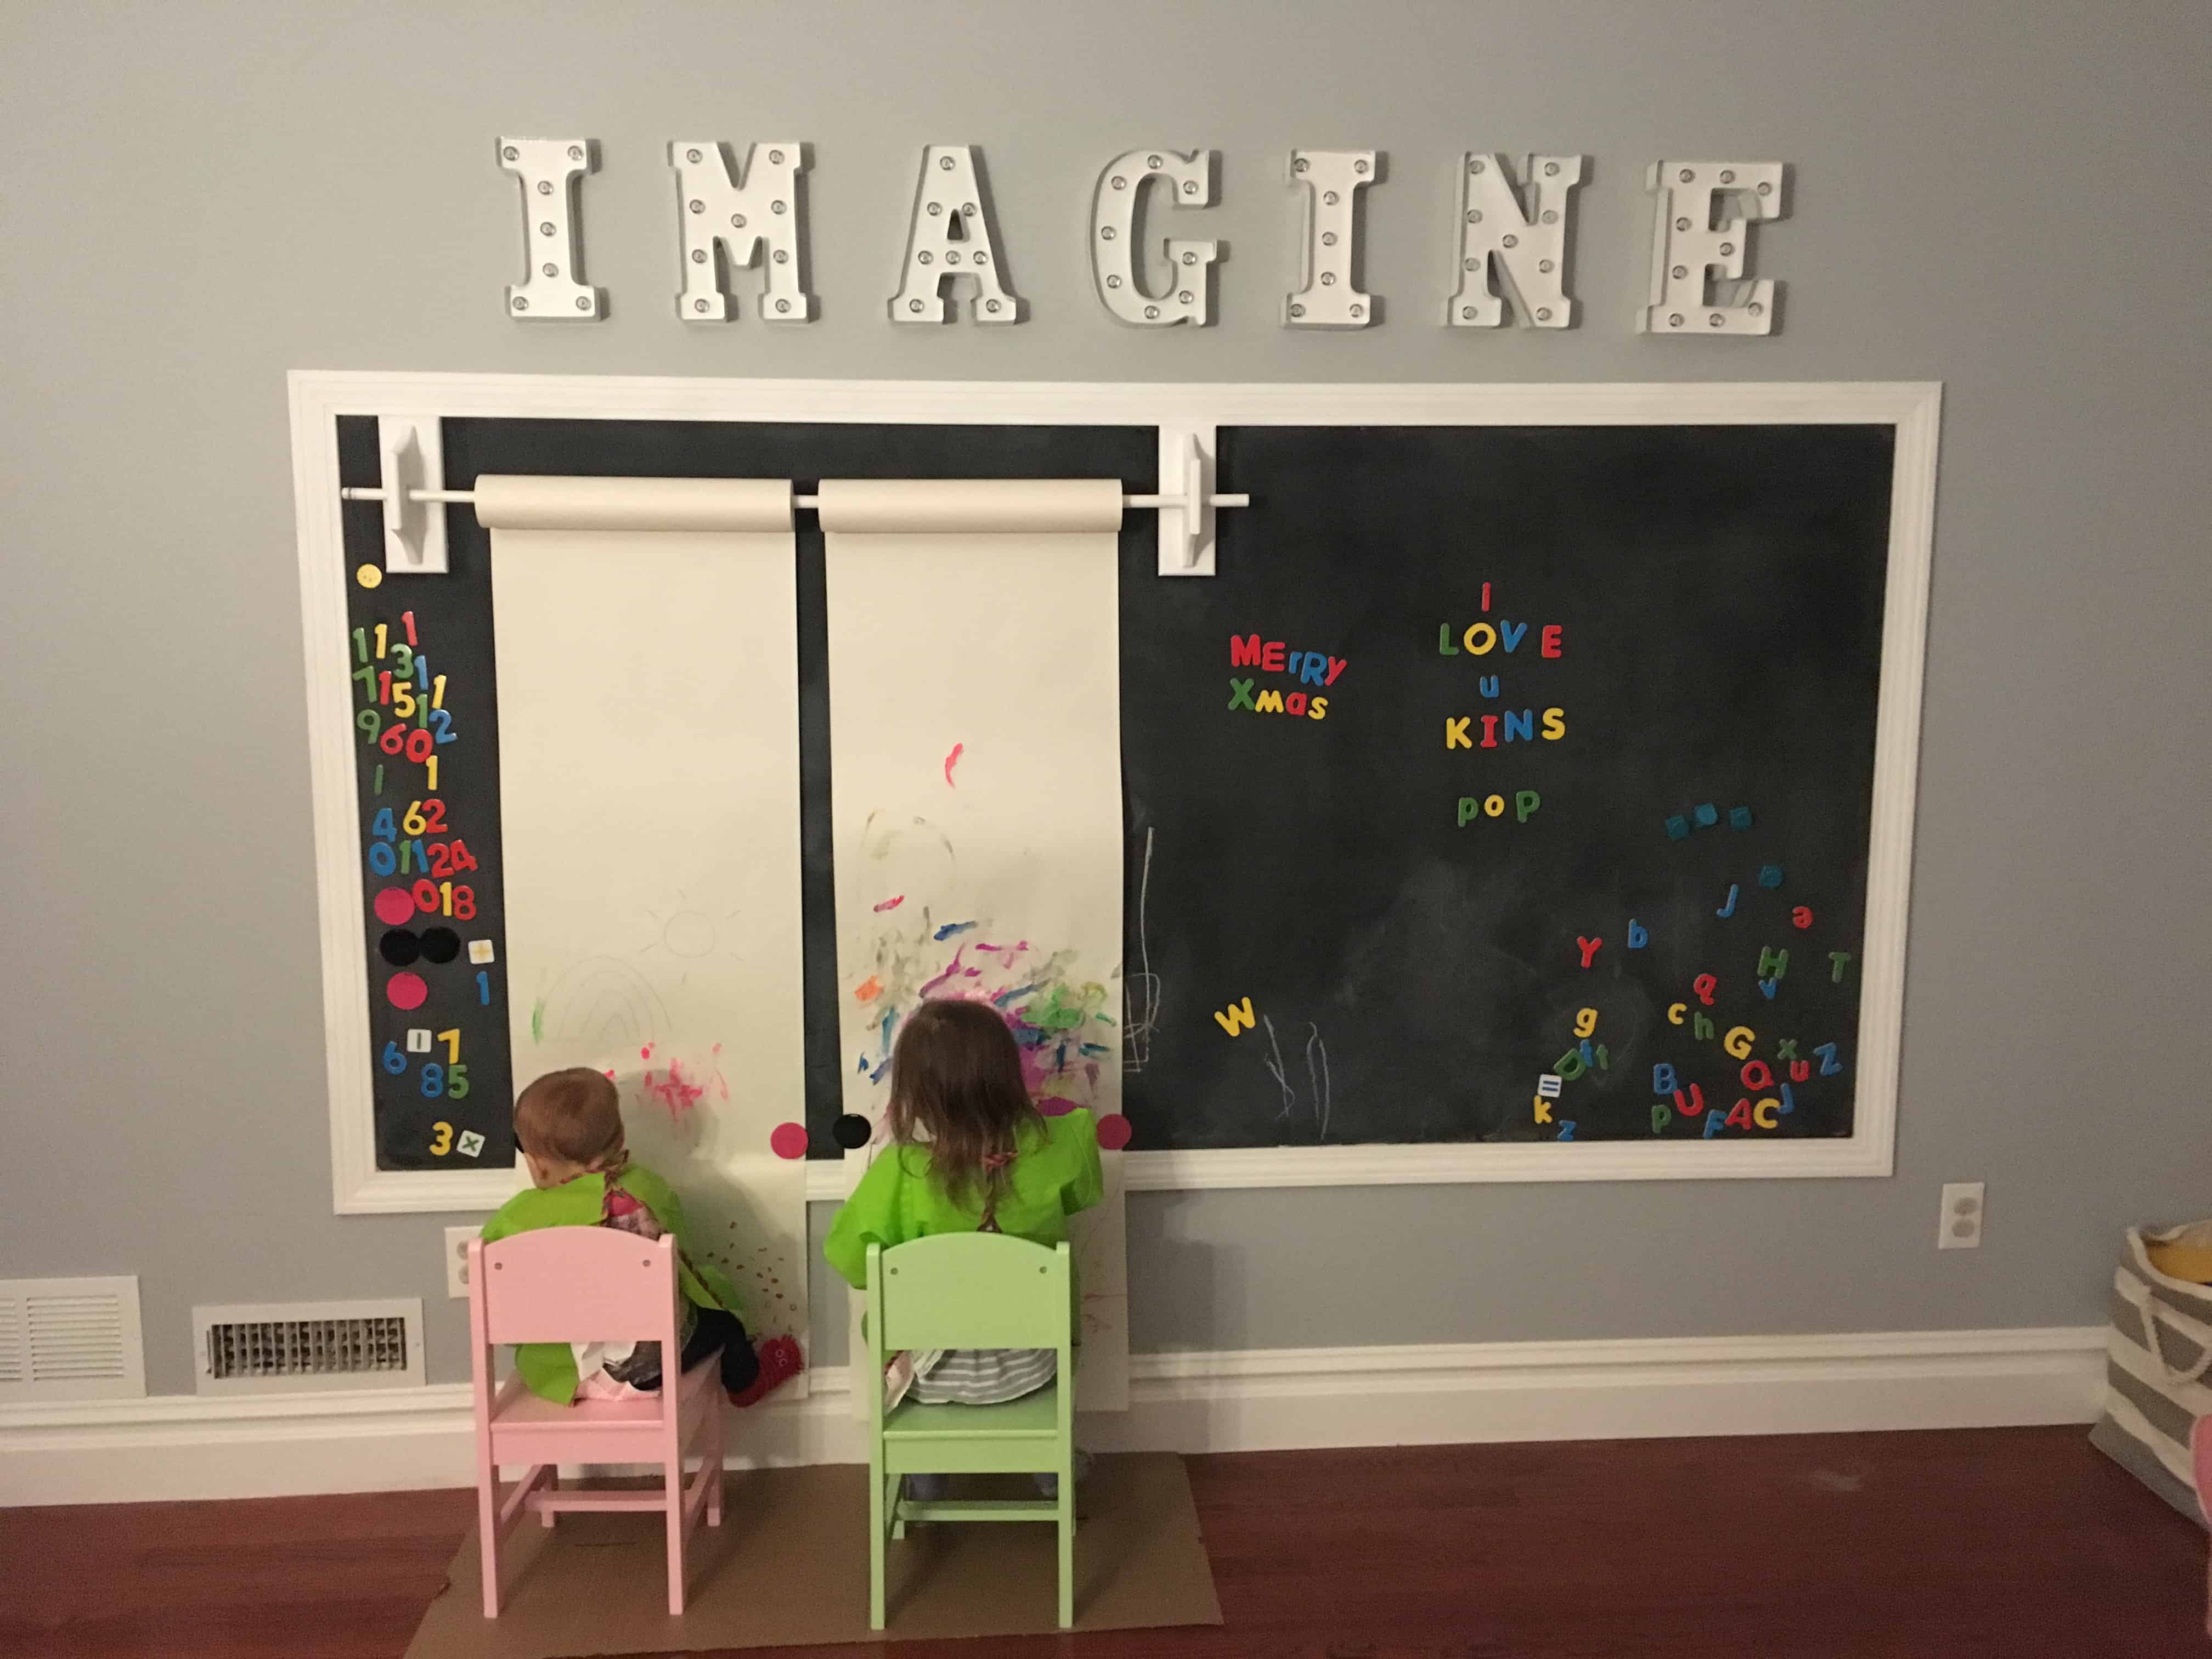
A chalkboard wall is the perfect addition to a children’s playroom. It adds a fun, playful touch, and keeps the kids busy for HOURS! And, the best part is it’s not too difficult to make!
This post may include affiliate links. As an Amazon Associate I earn from qualifying purchases. Read the full disclosure here.
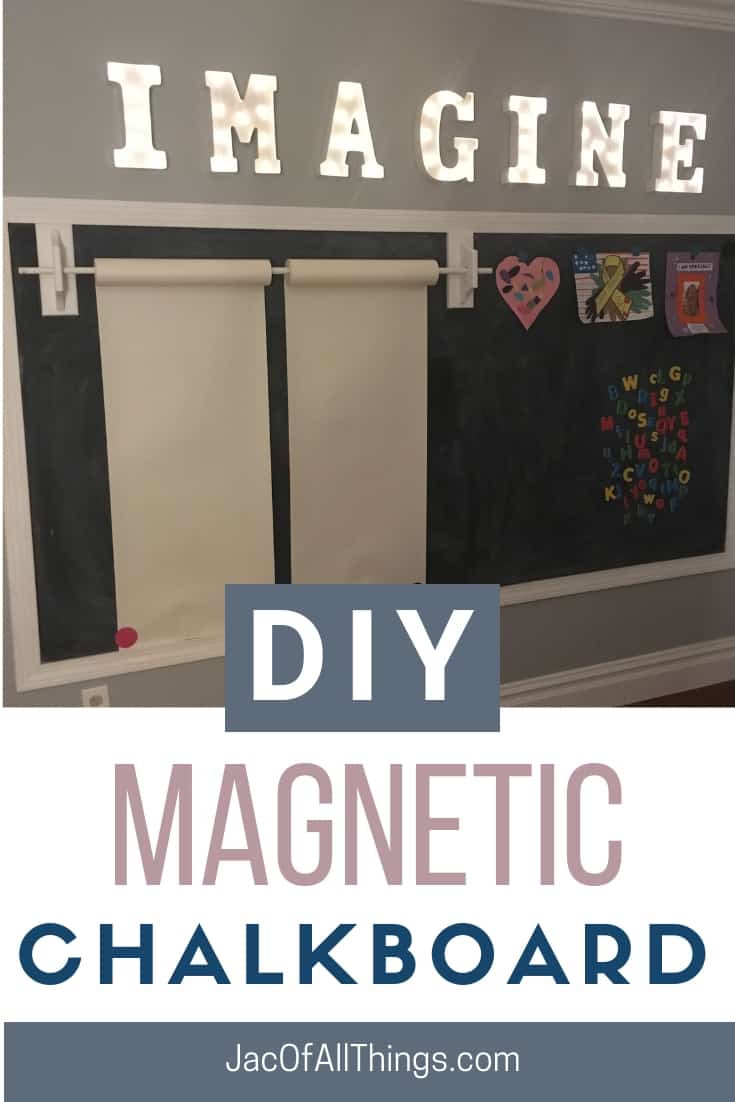
How to Make a Magnetic Chalkboard (DIY)
Materials
- 4’ x 8’ galvanized steel sheet
- (2) 15’ pieces of white trim
- Chalkboard paint
- White paint
- Wood glue
- White caulk
- Painter’s tape
- 2” roofing nails
- Finish nails
- Paint roller
- Paint brush
- Sandpaper
- Screw gun/drill bit
- Miter saw
- Hammer
- Nail gun (optional)
- Stud finder
- Level
- Tape measure
Optional Items to Decorate
- Magnetic letters/numbers
- Magnets
- Marquee letters
- Chalk
- Curtain rod (optional, if you add a paper roll for painting)
- Easel paper roll (optional, if you add a paper roll for painting)
Instructions to Make DIY Chalkboard
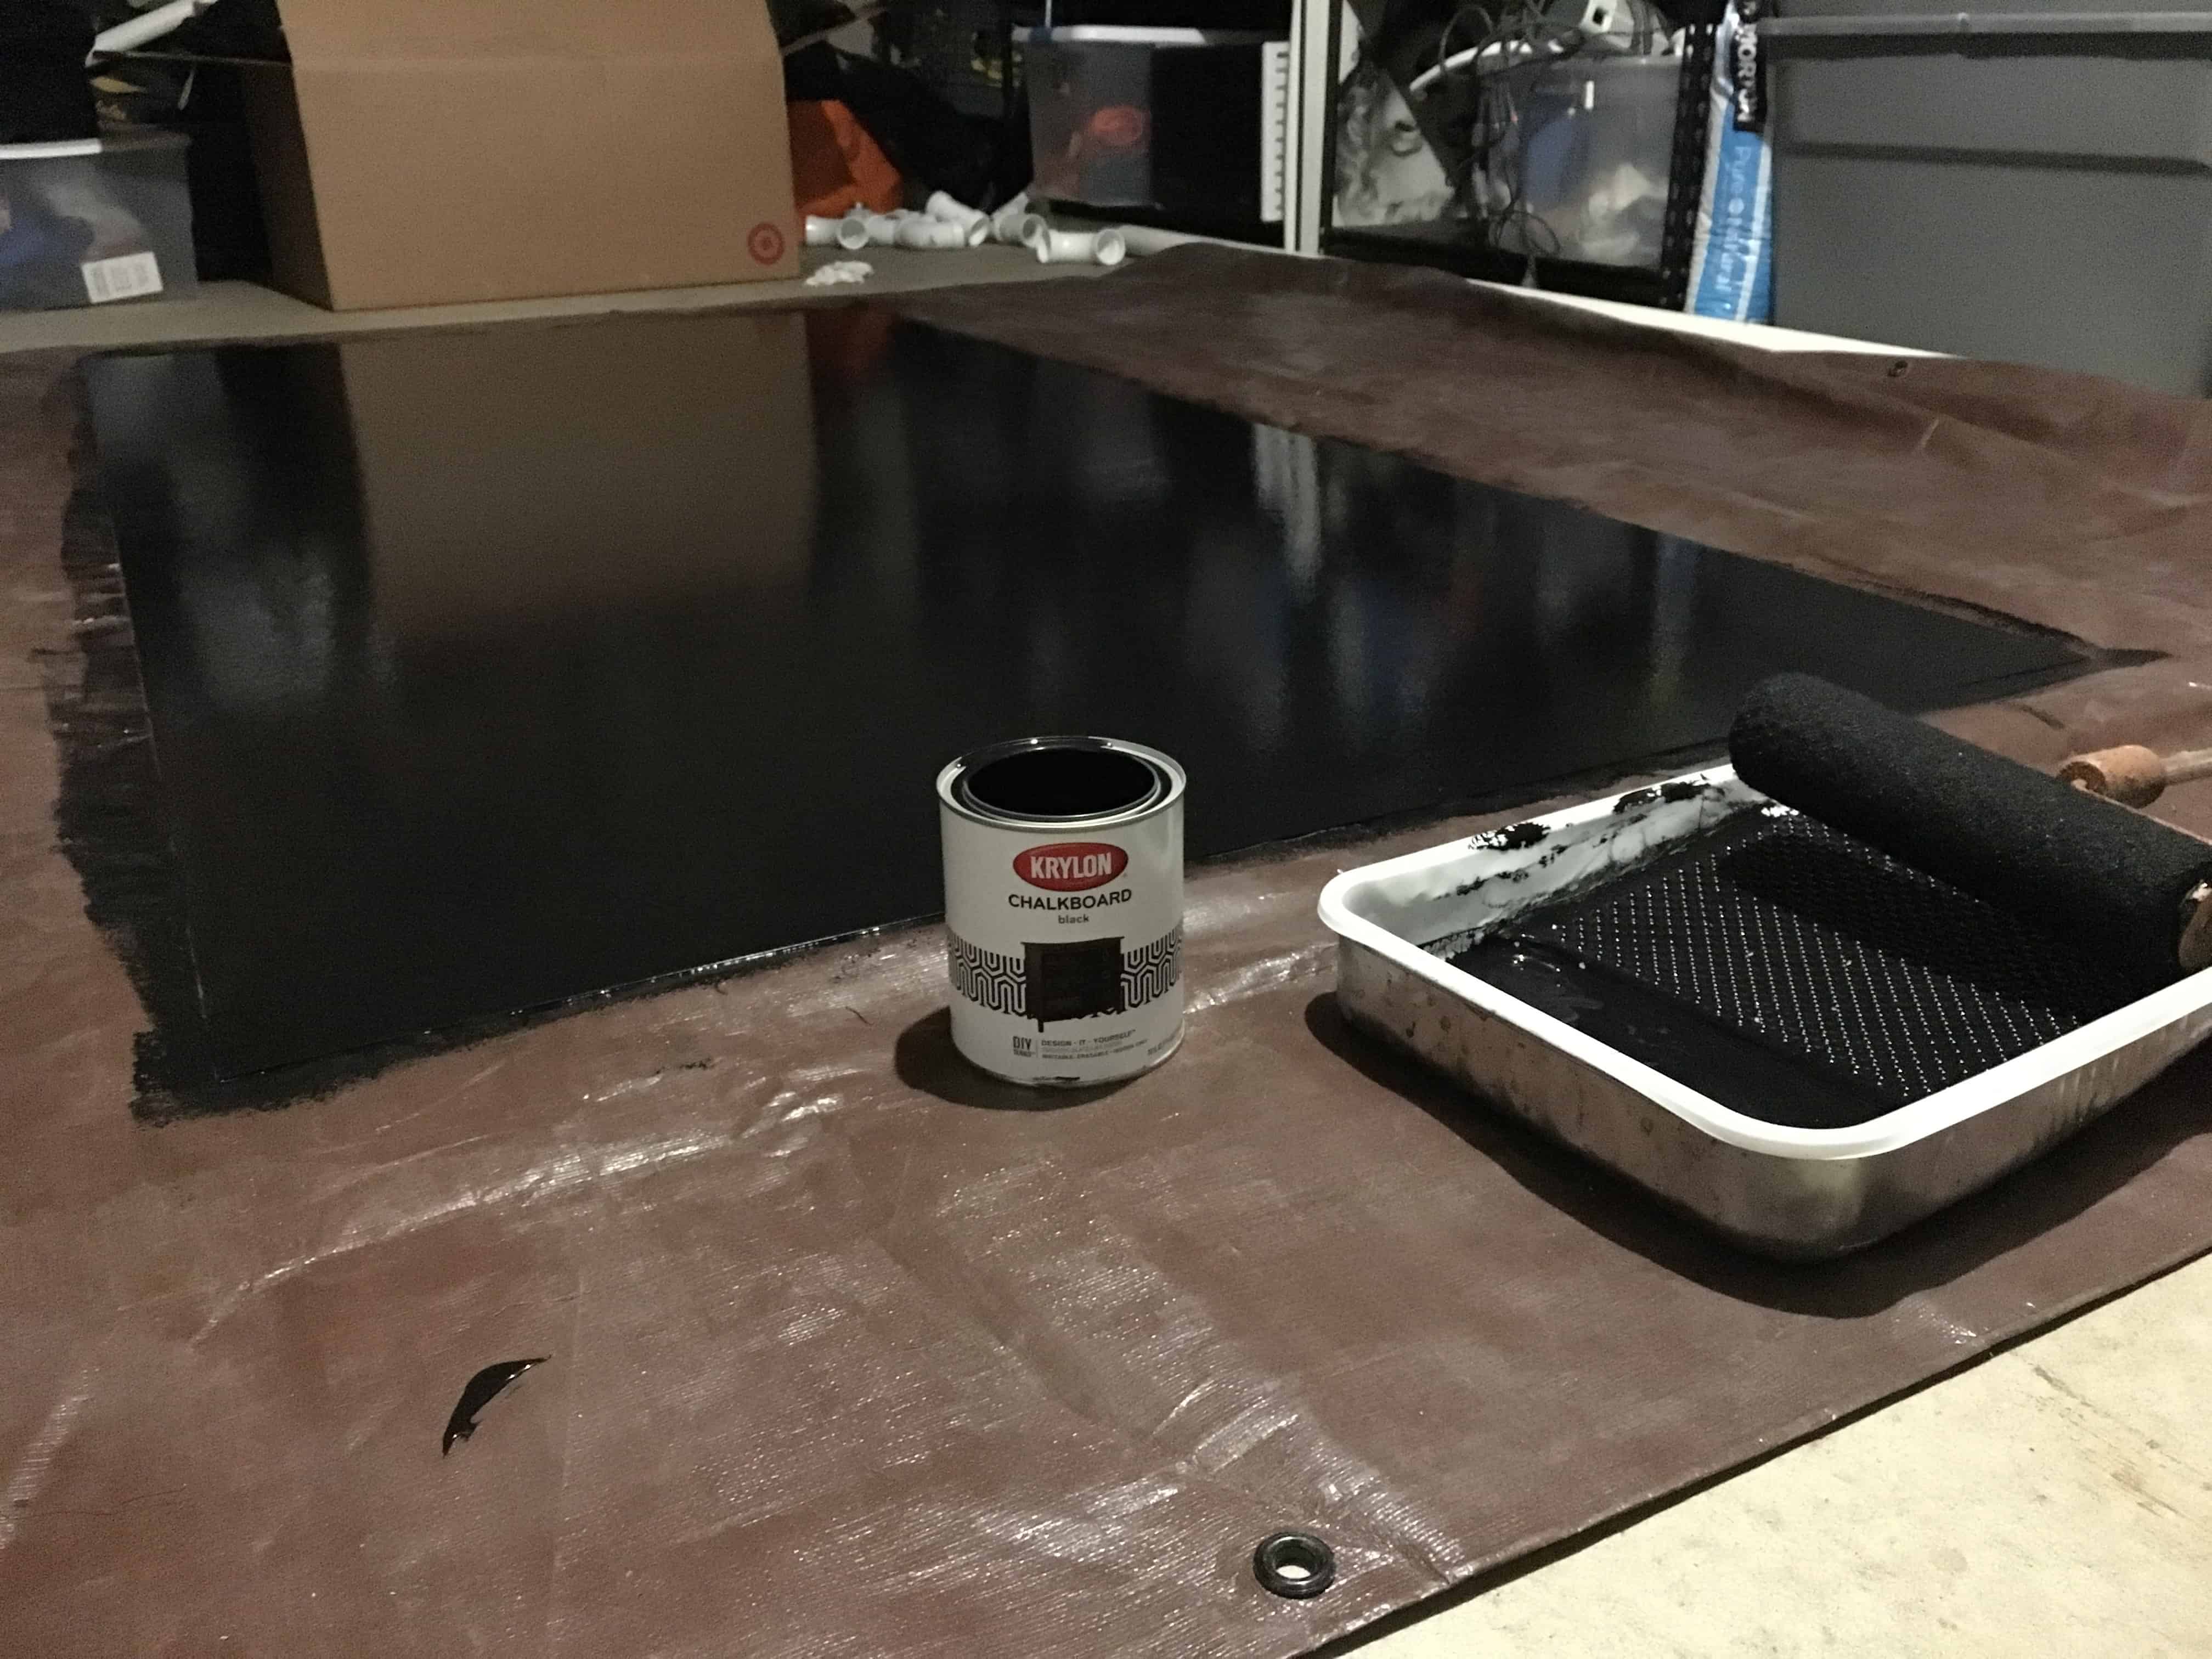
Prepare the Board
Paint your galvanized sheet metal with chalkboard paint with a paint roller. While the paint only takes a few hours to dry, you will need to let it cure for at least 3 days.
Read the details on your paint can for the timing specific to your paint.(Meaning – don’t touch it or write on it!)
Measure/Plan
Use painters tape to map out where the chalkboard will be hung. Use a level to make sure its straight.
I purchased an air grip laser level that suctions to the wall and projects your level line, but you can use a standard level too.

With a pencil, trace around the painter’s tape for the four corners and some lines on the top.
You do not need to trace the entire area. You just need to leave some markings so that you will be able to see where the board should go when you pull off the tape.
Using your stud finder, locate the studs in the wall. Measure where the studs are in relation to where you are hanging the chalkboard.
You will want to identify the distance from the edge to each stud and you will use this information to determine where you should pre-drill holes in your metal sheet.
Note, the exact measurements will differ for everyone depending on where you choose to hang your chalkboard. We chose to attach the chalkboard to the wall using 6 nails on the top, and 6 on the bottom.
Use the measurements you calculated in step 4 to identify where you will be attaching the chalkboard to the wall. With your screw gun and drill bit, pre-drill holes into the metal sheet.
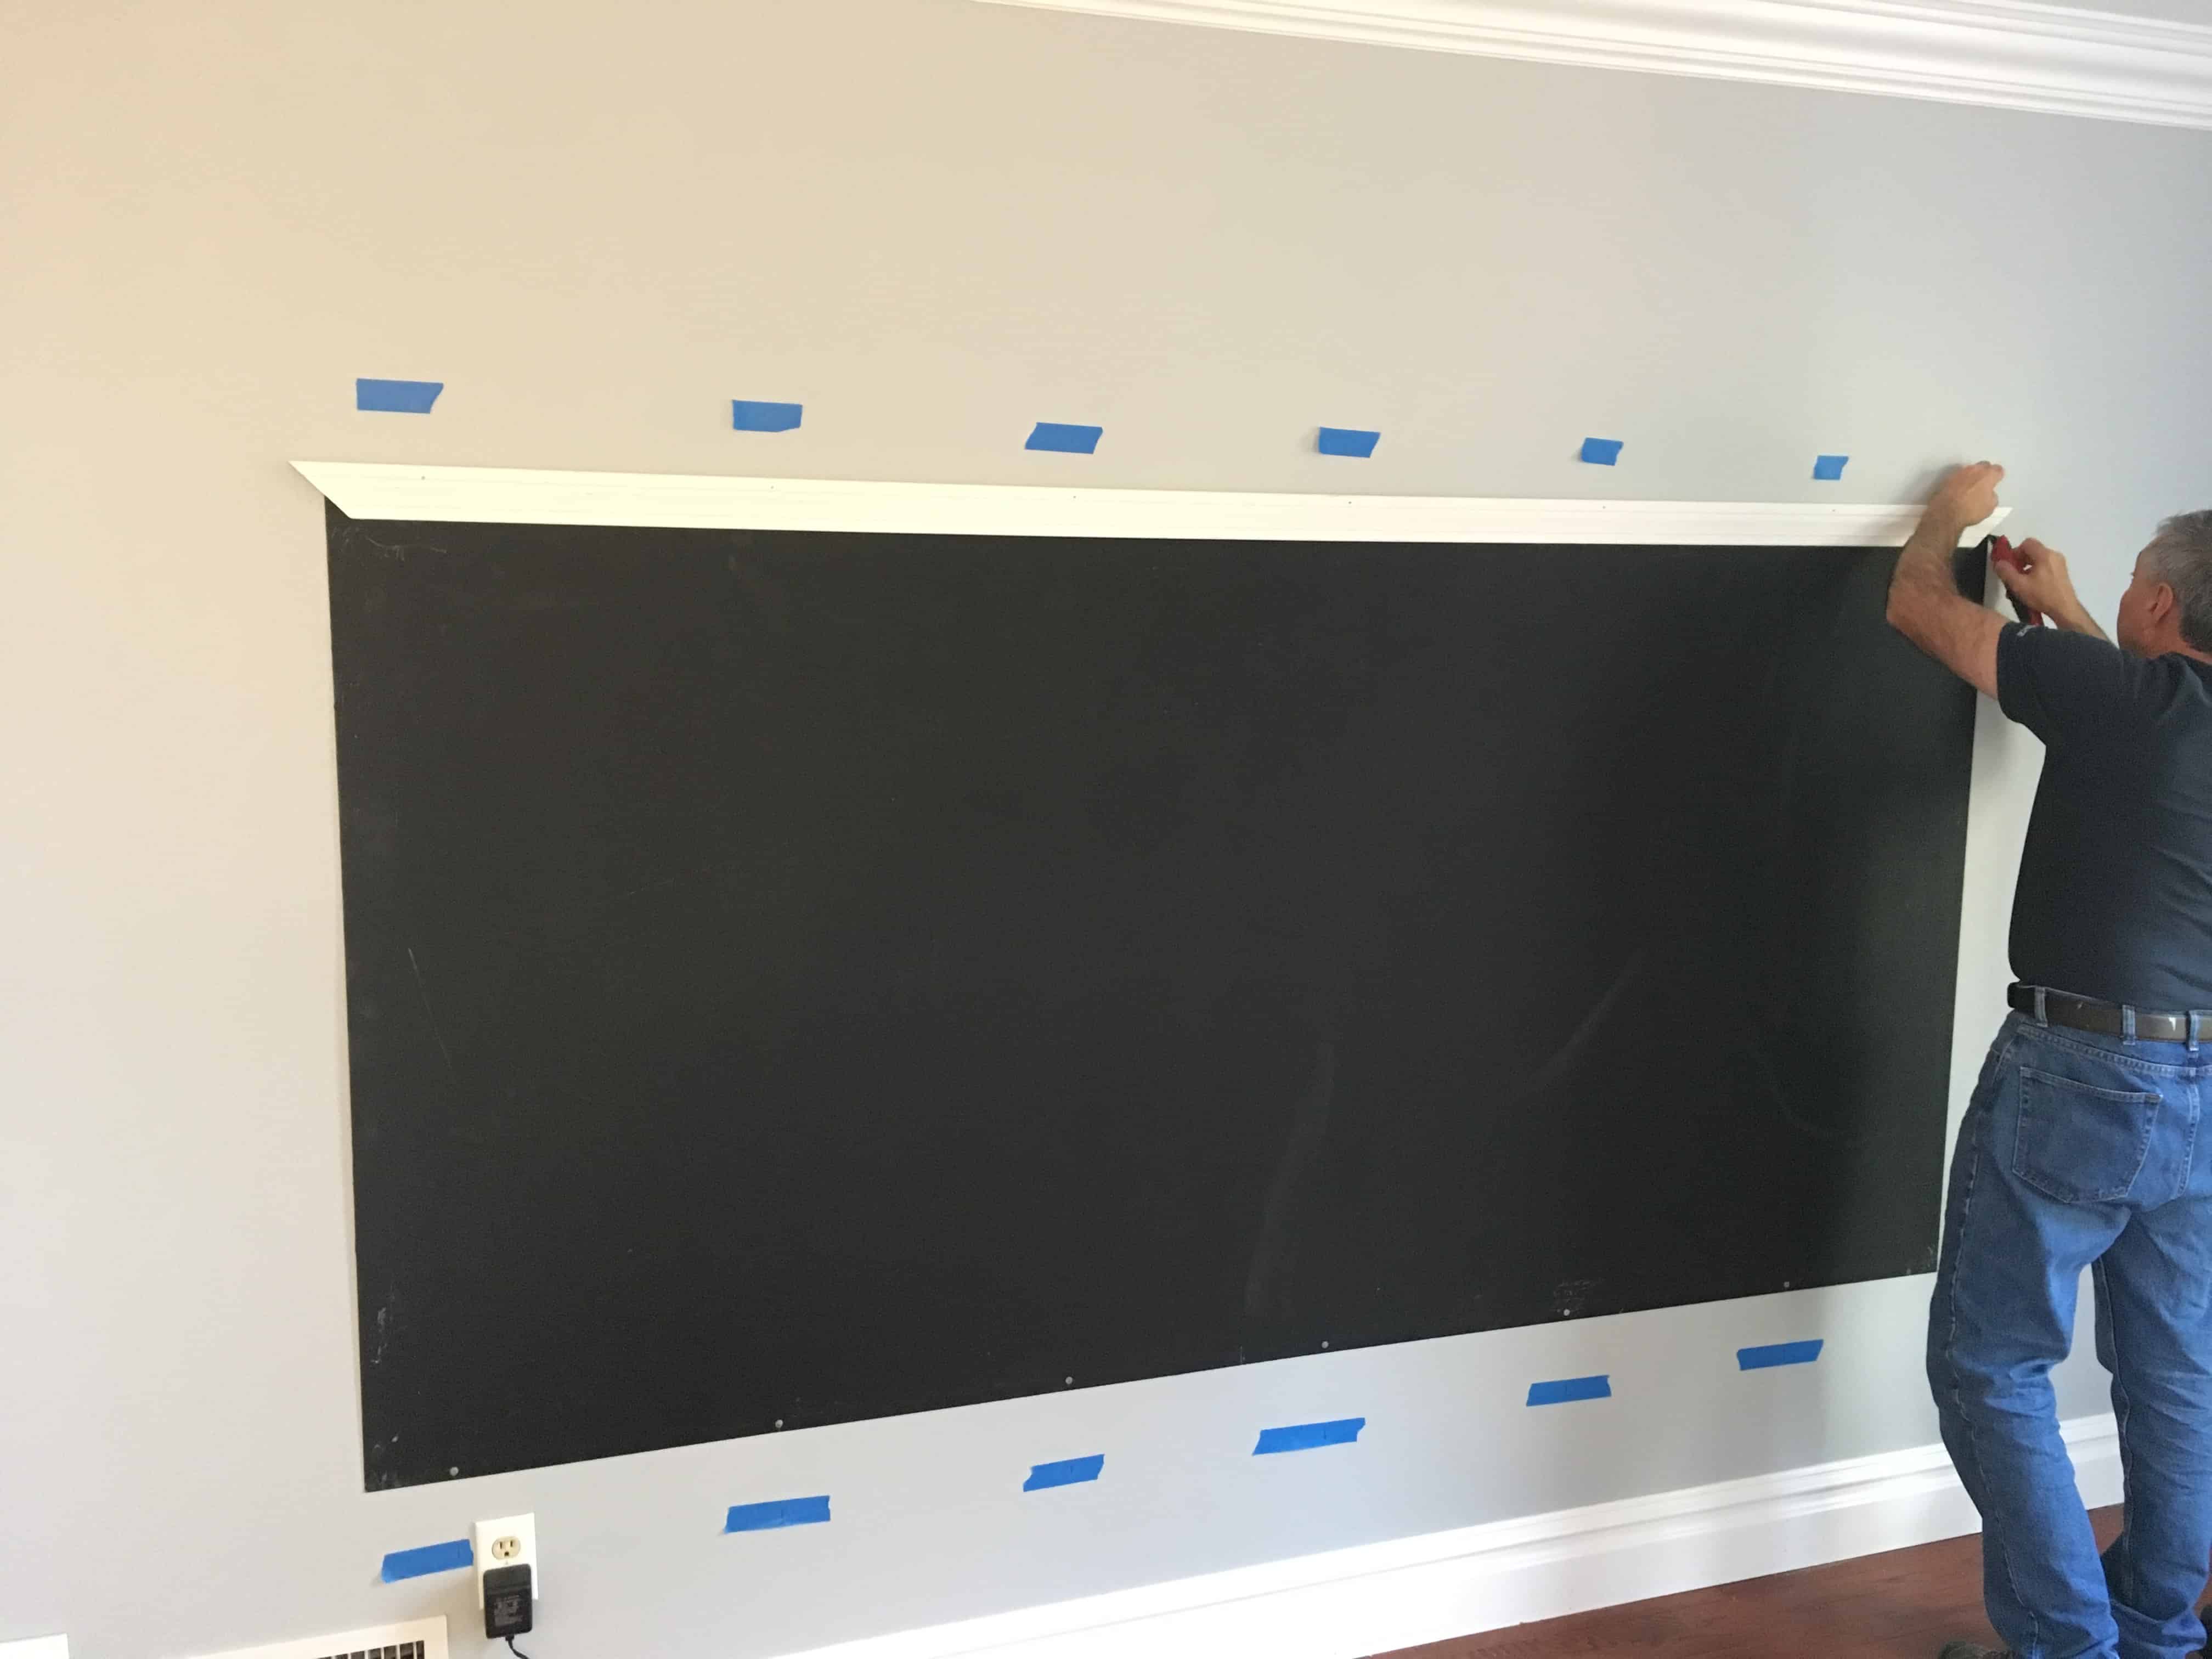
Hang the Board
Have someone help you hold the metal sheet to the wall in place. Use the pencil marks you made as a guide.
Hammer roofing nails into pre-drilled holes of the metal sheet and wall to attach the board to the wall.
Trim the Board
Use a miter saw to cut your trim with 45 degree edges. You will want your trim to be slightly longer than your board so you can nail it directly into the wall (rather than into the metal sheet).
For our 4’ x 8’ board, we cut the trim to be 8’ 2.75” and 4’ 2.50” point to point.
Attach the trim to the wall using finish nails. You can also add a small amount of wood glue to the corners. (It’s helpful to use a clamp around the corners to hold the trim together as your glue dries.)
Caulk the outside of the trim to fill the gap between the trim and wall.
Rub wood putty over nails on trim. Once dry, sand over putty to smooth.
Paint trim with white paint.

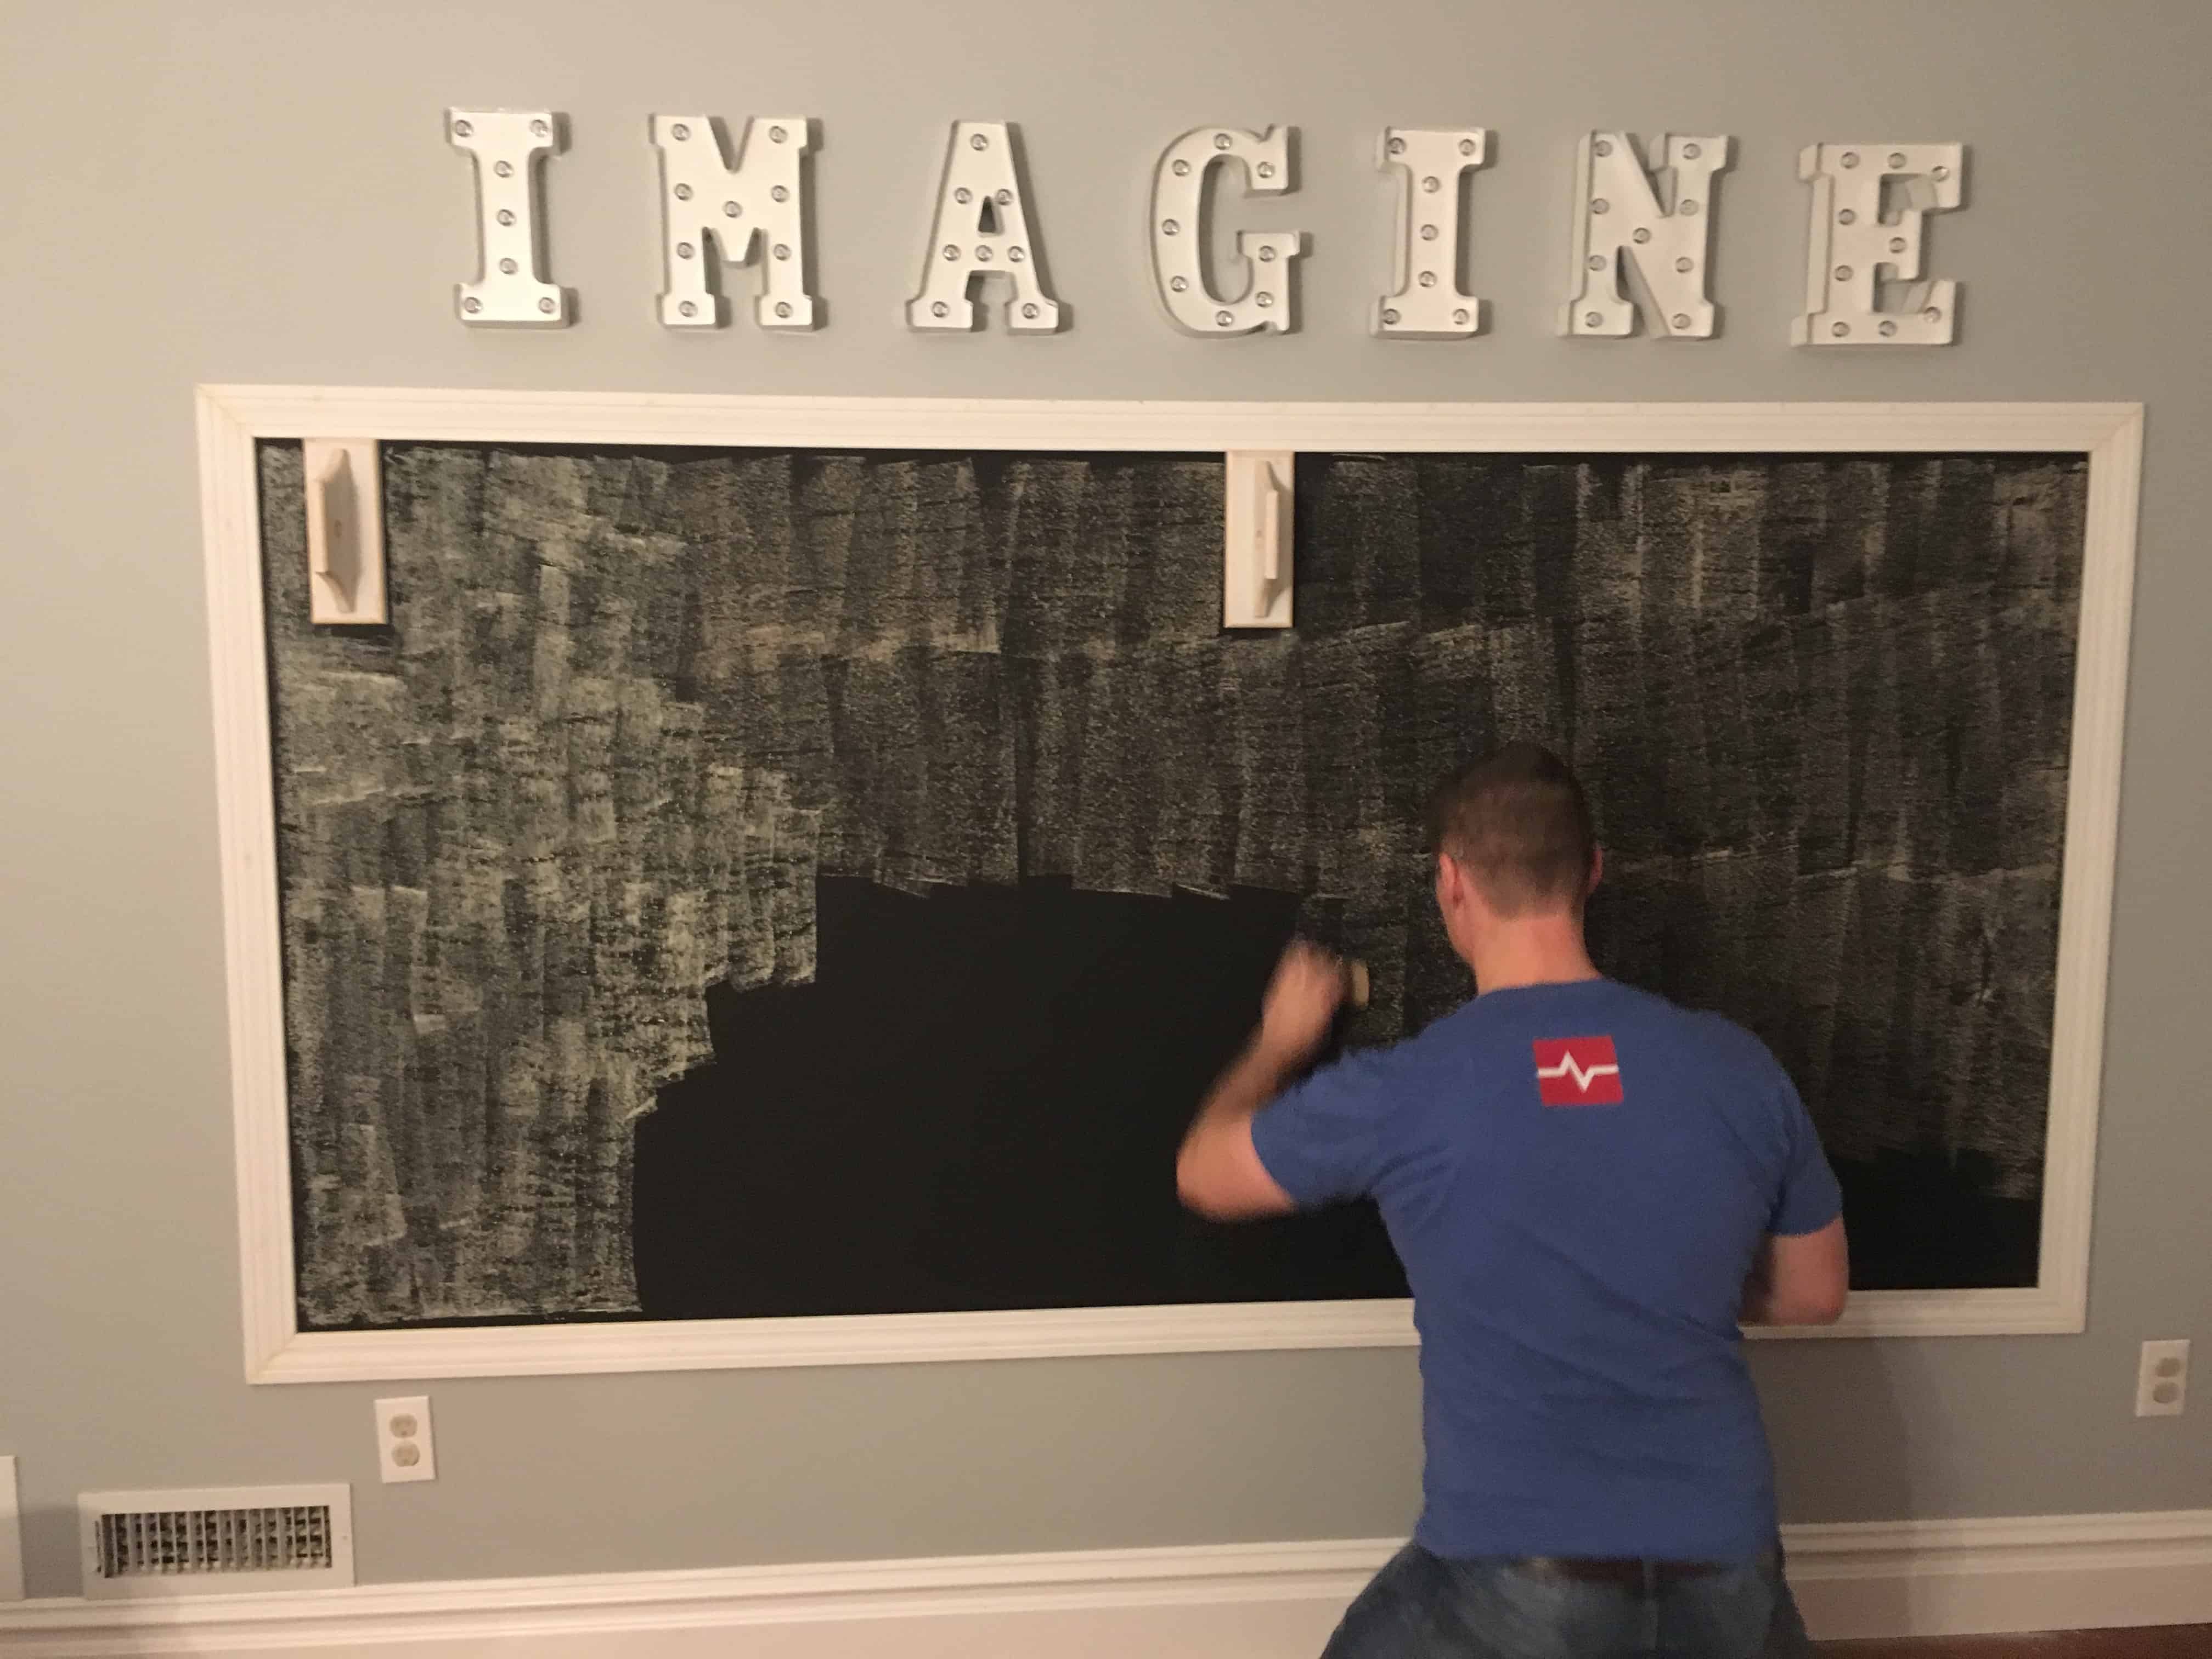
Season Your Board
Before you can write on your new chalkboard, you will need to season it. Chalkboard paint is very porous and if you write on the chalkboard before you season it, you will never be able to completely erase what you have drawn.
Take a piece of chalk and rub the side of the chalk over the entire surface of the board. Then use an eraser or dry cloth to remove.
After you season your board, it will no longer be dark black, but will have an authentic blackboard look.
You can use a damp rag to remove some of the chalk dust, but I would not use a wet rag.
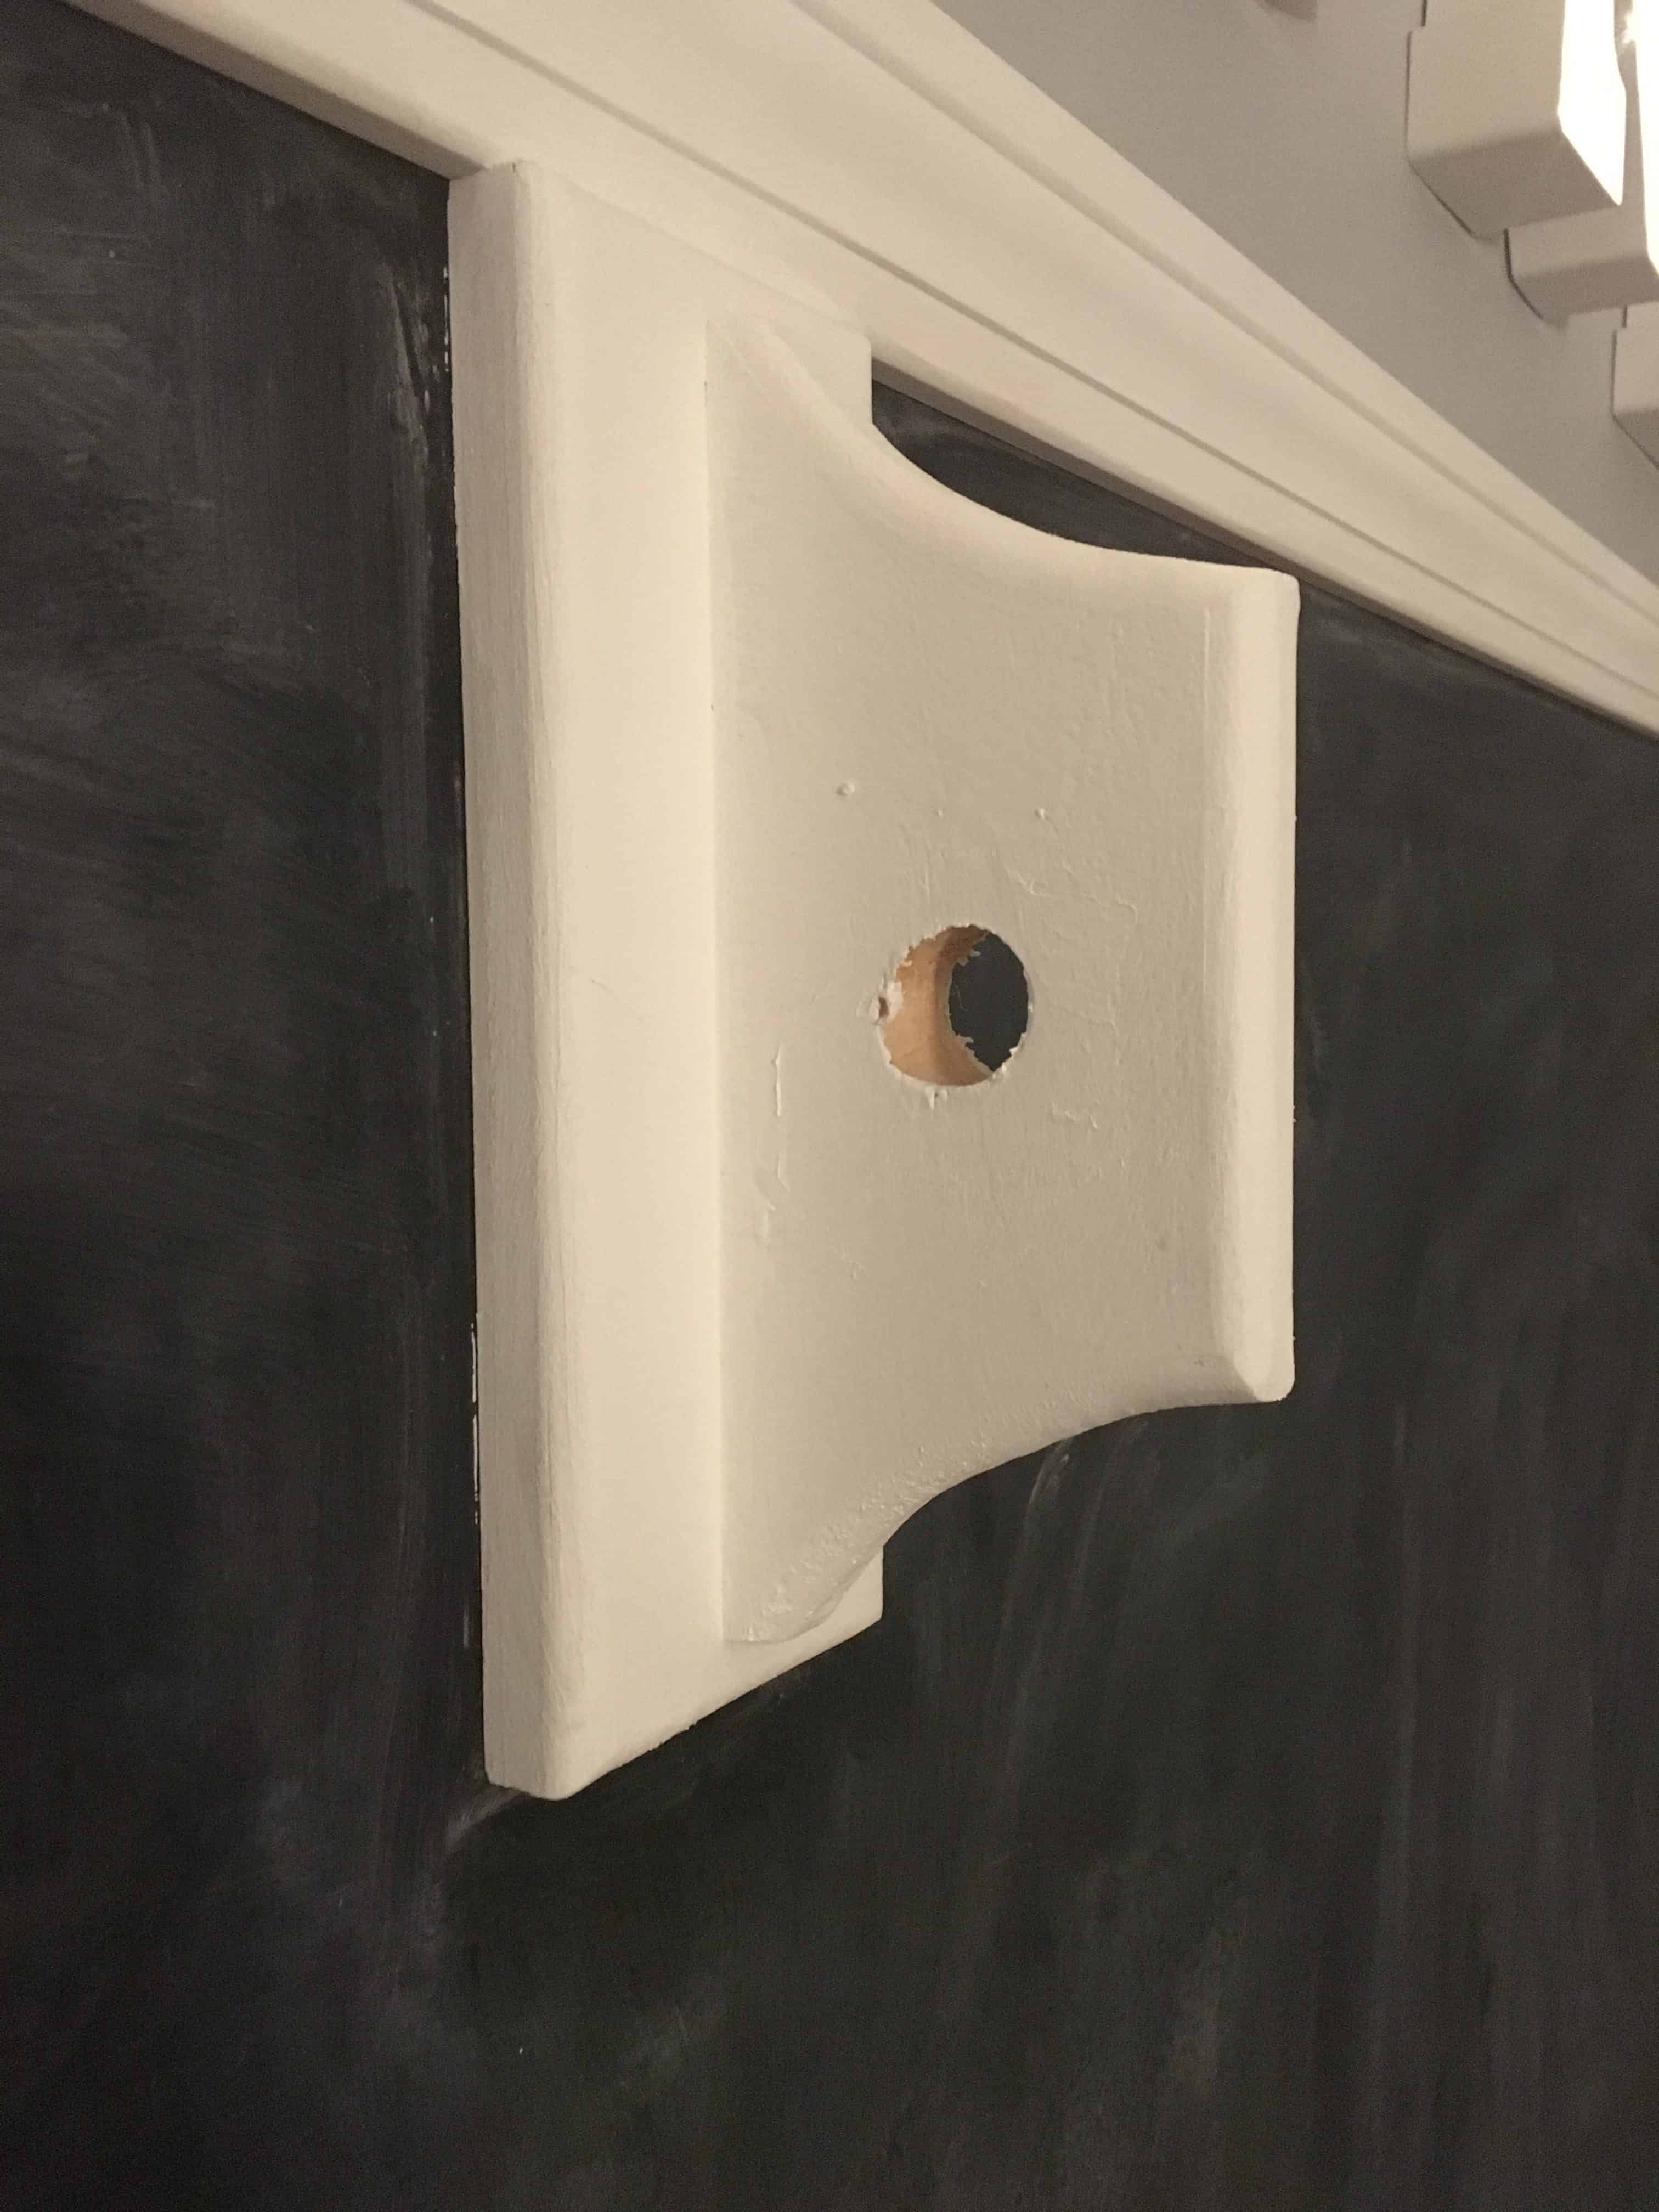
Hang the Paper Rolls for Painting
A heads up that my directions here are lacking a bit as this was actually done by a friend. We had planned on drilling large eye hooks into the board and inserting a curtain rod through the hook to hold the paper rolls.
However, we were pleasantly surprised when our friend created a beautiful molding to hang the paper rolls.
I’m not exactly sure what he did, but I’ve taken a close-up picture if you’d like to create something similar.
Decorate and Enjoy Your Chalkboard Wall!
Receive Weekly Life Hacks
Subscribe to receive exclusive life hacks and practical information sent directly to your inbox! By using this form you agree with this site's privacy policy.

Hi, Do the galvanized steel sheet need special surface preparation prior adding the paint?
Nope! You can paint right on it without doing anything to prep.
I have been reading all the signs of him cheating and I truly believe he is but, I’ve asked him but he gets so defensive and the name-calling comes out and then he expects me cheating, so, therefore, he never gives me a yes or no answer is always an argument, I’ve even noticed him buying me gift then normal, following me on social media, he even put a camera inside and out he says it’s for safety but I believe so he knows if I’m home or not and freaks out if they get turned off, thank to [email protected], that he catch him red handed, you can text kelvin whatsApp +1(341)465-4599. hgj
During my divorce, I felt helpless and overwhelmed until I came across [email protected] on this platform. They enabled me in obtaining the proof of adultery and abuse I needed from my partner’s device. Their services and expertise were essential in achieving a successful resolution for my case. They are the reason I have found serenity and freedom. genuinely lifesaving Their swift and efficient services gave me the courage to take on the legal battle with hope and confidence. gh
Can you use chalk pens on this?
I never tried using them! However I know that they can be used on non-porous surfaces like metal, so I think they would work fine. (However if you painted your chalkboard paint directly on the wall, rather than using a metal back, I would not use the pens!) Hope this helps!
Where did you bough the 4×8″ galvine sheet?
Where did you find your large sheet of galvanized sheet metal?
Where can I buy the galvanized sheet metal?
How thick is the metal sheet you used for the chalkboard?
Sorry I don’t have the exact measurements, but I can tell you it was pretty thin and “floppy”.
How strong is the magnetization? I’d like to try this project for a hybrid school room (thanks, COVID!) but I’d like to be able to use a magnetized curtain rod to hang the paper roll and magnetized pencil holders.
Think it could be strong enough for that?
It may be dependent on the type of metal you use. The one that we used has a very strong magnetic pull to it, so it would definitely hold it up. I would be slightly worried about pulling on the paper if you have a small child. My (young) kids are not the most gentle with things, so they may pull it off when pulling on the paper.
Did you do anything to clean the galvanized steel before applying chalkboard paint? I was able to get a piece of steel but unsure if it needs to be cleaned first?
We wiped with a damp cloth, but it was really only because I accidentally drove over it. (My husband placed it in our garage and I did not see it on the ground before I drove in!)
Could you use dry erase paint also and hang side by side?
Where can you get the metal at ?
I would also love to know where you bought a sheet of metal that large?
Wow | Great job😊
.
I gained a new idea by reading the full article. Such a simple and tidy article that anyone can easily understand.
Anytime I can easily make a DIY Chalkboard Wall for my room that will enhance the beauty of my room.
.
So, Thanks a lot for sharing 💖💖
Thanks a lot for the amazing post. I really liked it. Please keep posting.
I’m truly grateful for your expertise shared in this post. Your detailed breakdown illuminated aspects I hadn’t considered before. I recently explored a similar theme on my blog illiciumlondon, and your insights would complement it beautifully. Looking forward to further enriching discussions!
Great job on this post! The way you broke down the topic is truly impressive. Looking forward to reading more! If you’re in search of a top mini skirts wholesale supplier, check us out!
As a victim of digital currency scam, I sure do understand the frustration you are going through, assuming you are a victim reading this. They made last year terrible and hopeless after being conned a total of $60,000. Reporting to The police had zero effect, so I opted to hire an asset recovery personnel to trace the offenders and recover my money. The fake company approached me with a promise to double my investment. They kept asking for more without allowing me to withdraw my profits and in the end I lost nearly $60,000. I found @prompttechrecovery on Telegram, whom is among the best crypto recovery pro. The agents specialize in crypto recovery and they truly display profound knowledge in the area. At first I was nervous because I had just been scammed and heard incidences of people being scammed twice but I decided to take the chance with prompttech. It felt like luck when the tracked the scammers and sent the entire amount I lost to my account. Look them up on Telegram: @prompttechrecovery, or send them an Email: [email protected], they’re legit and always there to help.
Puzzle aficionados should definitely try quordle, which is a fun and hard puzzle game. Wordle with a twist: guess four five-letter words.
Secured Cryptocurrency Recovery
Don’t let the fear of losing your cryptocurrency hold you back. Contact PROFESSIONAL WIZARD RECOVERY HACKERS today via WhatsApp at +44 7442 684963 for a consultation. Their dedicated team is ready to assist you with any inquiries and guide you through the recovery process seamlessly.
Email: professionalwizardrecovery at programmer dot net
WHAT-SAPP (+44 7757 257723)
Telegram : https://t.me/professionalwizardcryptohackers
Bring street basketball excitement to your mobile device with basketball stars. The game captures the energy of street courts with its fast gameplay and stylish visuals. Players engage in intense one-on-one matches that test their reflexes and decision-making skills. Customization options allow you to personalize your player and stand out on the court. With global matchmaking and quick matches, Basketball Stars offers endless entertainment for players who love basketball.
Elevate your shared experiences with top-rated sex toys designed for couples. Our guide highlights products that cater to various preferences, ensuring both partners enjoy heightened pleasure and connection. Discover the best options at Best sex toys for couples.
Discover tips and insights for couples who want to build stronger emotional and physical connections. Healthy relationships grow through trust, communication, and shared experiences. Understanding each partner’s needs and love languages can help couples maintain long-term happiness and intimacy in their relationship.
Choose a complete azerbaijan tour package by MyTravelCase, covering hotels, sightseeing, transfers, and curated itineraries for a hassle-free holiday.
Tham gia cộng đồng slot365 com để cùng thảo luận và nhận những bí kíp soi cầu chuẩn xác từ các chuyên gia hàng đầu. TONY05-24
Wonderful blog post granny 2! Very thorough and interesting. I want to know more about it.
At Rx-Pills, we are committed to providing reliable information about medications, health, and wellness. Our platform offers helpful resources and guides to support informed healthcare decisions. Rx-Pills Online Pharmacy
What a creative and inspiring idea! I really enjoyed reading your tips and the practical approach you shared. Thanks for the inspiration and for taking the time to share your experience! More Info