TIPS FOR CREATING THE PERFECT WEDDING SEATING CHART
What’s the first thing you do when you are at a wedding and take a look at the seating chart? You likely immediately start investigating who else is at your table, how close your table is to the bride and groom, and perhaps even the dance floor.
Putting together the seating chart for your wedding can take some time and thought. It’s can be like a jigsaw puzzle to find the perfect combination to ensure every table has a fun time and gets along nicely. Read more for how to create the perfect wedding seating chart.

PUTTING TOGETHER YOUR WEDDING SEATING CHART
Supplies:
Large poster board
Instructions:
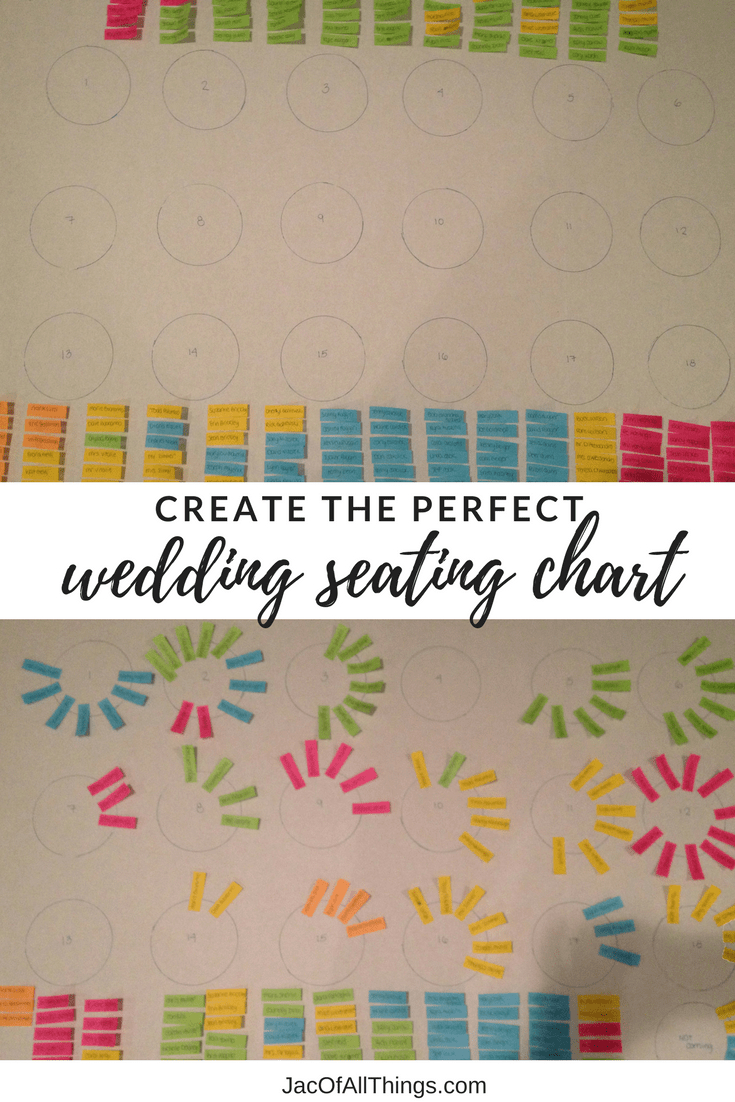
Step 1: Map out the layout of your wedding reception room on a large poster board. (Tip – if you have round tables, use a bowl or large cup to trace your tables. In addition to your tables, find extra free space on your board and draw a box or circle and label it “declines”.
Step 2: Number each table and indicate how many seats are at each table.
Step 3: Make a list of every guest invited to your wedding. Categorize (or tag) each guest to indicate their relationship to you. Common categories include:
- Bride’s family
- Groom’s family
- Bride’s friends
- Groom’s friends
- Bride’s work friends
- Groom’s work friends
- Parents of the Bride Guests
- Parents of the Groom Guests
Step 4: Choose a color Post-it for each category of guest. Copy the names of your guests onto the applicable color Post-it and stick to an empty place on your poster board. (Ideally away from the tables to avoid confusion.)
Step 5. As you receive RSVPs, move the Post-it notes to assign guests to tables, placing similar groups together. You are likely going to have to move guests around a few times to make your arrangements work. Because the post-it notes are sticky, you can easily make changes as needed.
ADDITIONAL TIPS TO CREATE THE PERFECT WEDDING SEATING CHART
- Keep the wedding party close to you and seat them with their dates.
- Seat parents and other VIPs at a prime table location.
- Decide on if you want a kids table (and if so, put them close to their parents)
- Create a healthy mix of singles and married couples at tables
- Consider where the band is and who should be closest (and not bothered) by the noise and further.
Do you have any other tips on creating the perfect wedding seating chart? I’d love to hear from you in the comments.
Receive Weekly Life Hacks
Subscribe to receive exclusive life hacks and practical information sent directly to your inbox! By using this form you agree with this site's privacy policy.


0 Comments